Author Archives: Fraiche Pantry

Gluten Free Pumpkin Spice Cakelettes

There is always room for dessert – especially for sugar-free, gluten-free delicious desserts.
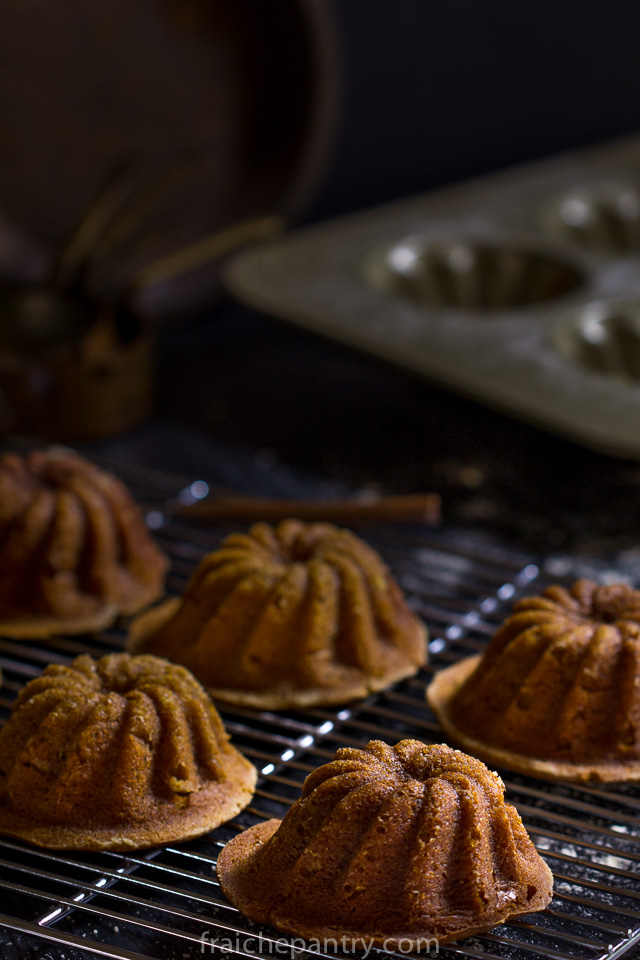
Gluten Free Pumpkin Spice Cakelettes1

When I invite people over, I want to be able to serve delicious desserts that deliver loads of flavor. Over the years, many of my friends started to follow a gluten-free diet. Consequently, it became increasingly difficult to entertain at home and live up to my standards.
So I decided to work on converting some of my favorite recipes into gluten-free versions. The goal was to create delicious desserts without bulk and flour. Desserts that anyone could enjoy whether or not they follow a gluten-free diet.
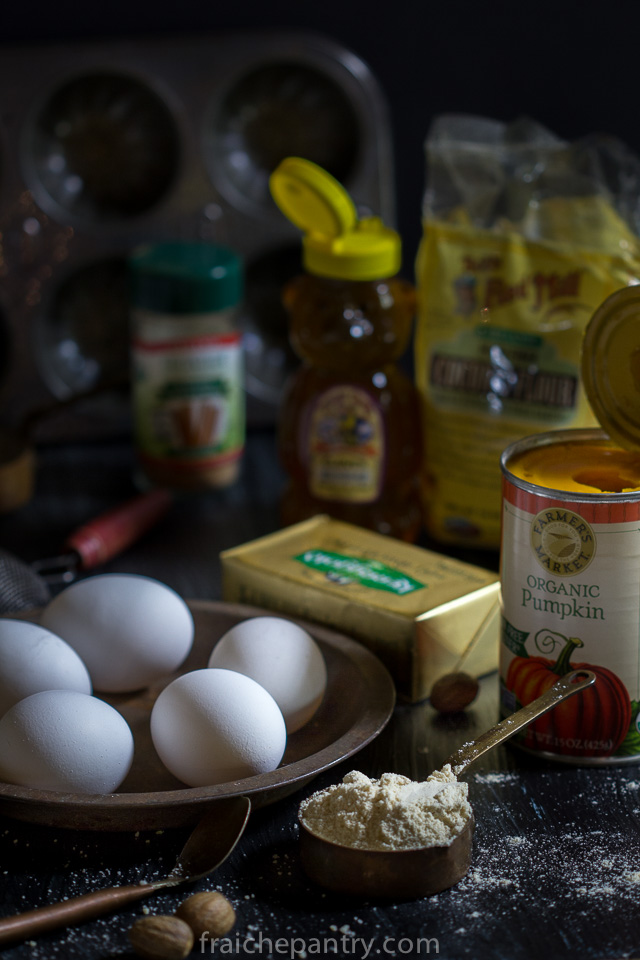
Gluten Free Pumpkin Spice Cakelettes

This recipe is an adaptation of King Arthur’s gluten-free pumpkin cake. The KA recipe uses their gluten-free mix. The reason I don’t use gluten-free baking mixes is because many of them contain Xanthan Gum, and I happen to be allergic to xanthan gum. Instead, I use a combination of almond flour and coconut flour and an extra egg for binding.
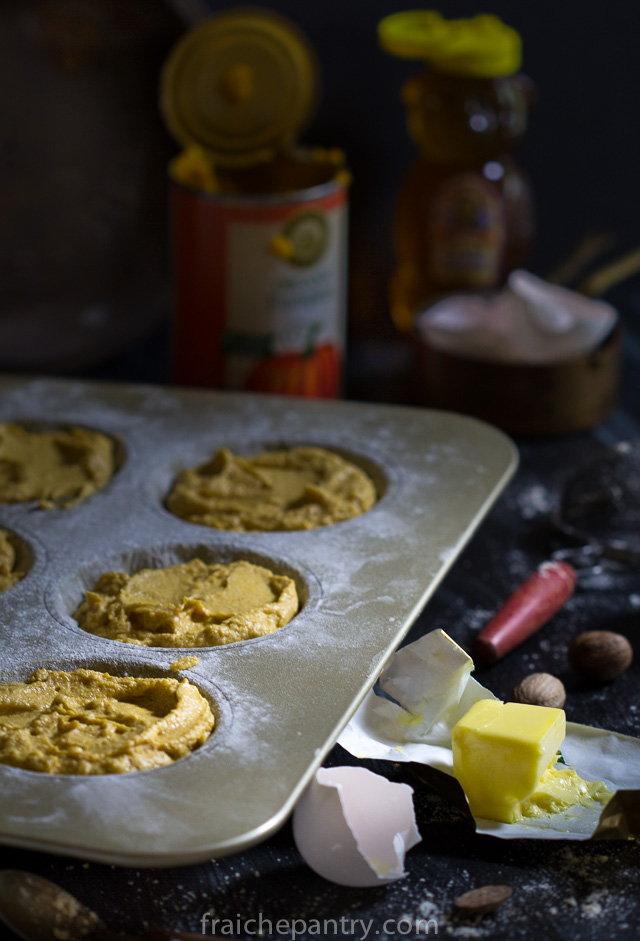
Gluten Free Pumpkin Spice Cakelettes-2

These are deliciously light, moist, sweet and spicy pumpkin cakelettes. The coconut flour adds a wonderful flavor without overwhelming the rest of the ingredients. The honey gives just enough sweetness to make it pleasant. Who’s missing gluten?

Gluten Free Pumpkin Spice Cakelettes
 
Ingredients
  • 1 can organic pumpkin puree
  • 8 oz of butter (room temperature)
  • ½ cup of honey
  • 4 extra large eggs (room temperature)
  • ½ cup coconut flour
  • 1 cup almond flour
  • ½ tsp salt
  • 1 Tbs pumpkin pie spice
  • 1 and ¼ tsp baking soda
Instructions
  1. An hour before making the cakelettes bring eggs and butter to room temperature.
  2. Preheat oven to 350 degrees. Generously butter and flour a cakelette pan. Warm the honey before measuring by putting the container in a bowl of hot water (not boiling) for a couple of minutes.
  3. In a bowl mix together all dry ingredients. Using a mixer with flat attachment, cream softened butter for a couple of minutes. Add the honey and mix at medium speed for about 5 minutes until creamy and fluffy. Add eggs one at a time mixing well and scraping the sides of the bowl after each addition. By the fourth egg addition the emulsion of the batter will seem like it's breaking down (looking separated and weepy). No worries, once you add pumpkin purée and the dry ingredients, it will smooth out.
  4. Add pumpkin purée and mix then the dry ingredients and mix just enough to incorporate. Pour batter in buttered loaf pan and bake at 350 for 45 minutes... Watch that the top of the cake doesn't burn. If your oven tend to be on the hotter side, reduce the temp to 335 degrees.
Notes
If you are 100% gluten free, you can use rice flour to flour the pan. I found that using extra large eggs resulted in more leavening. If you don't have extra large eggs add an extra egg to the batter.


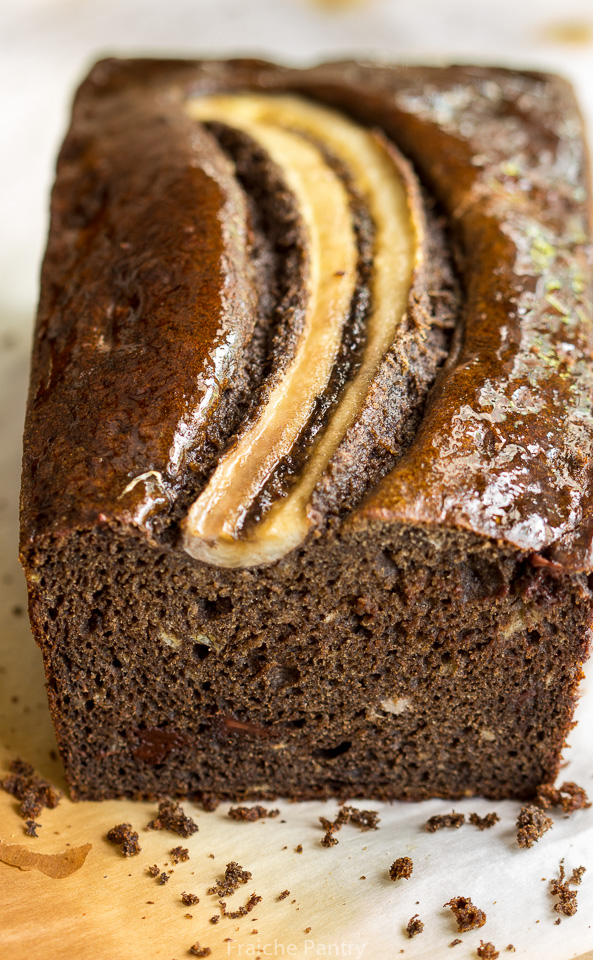
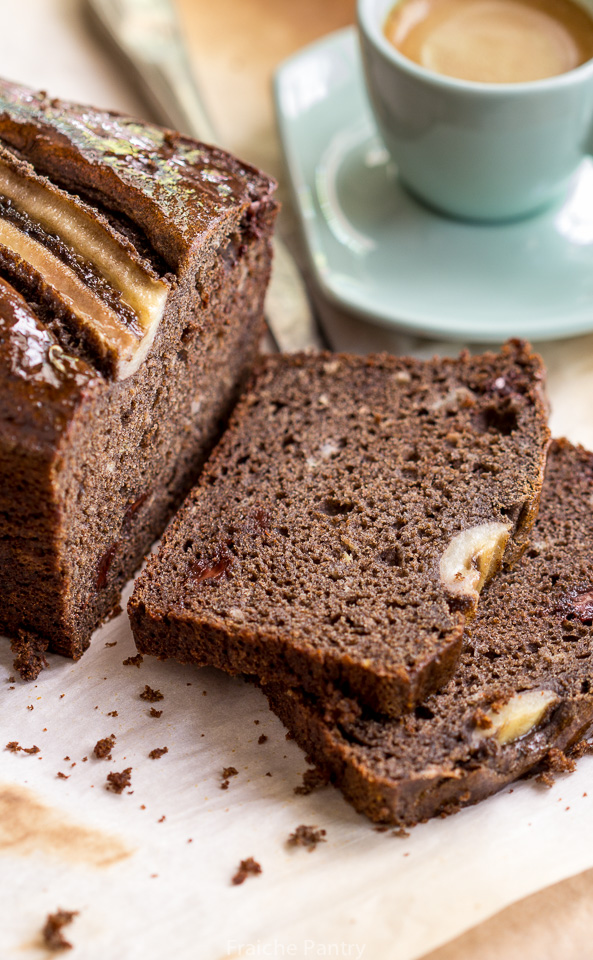
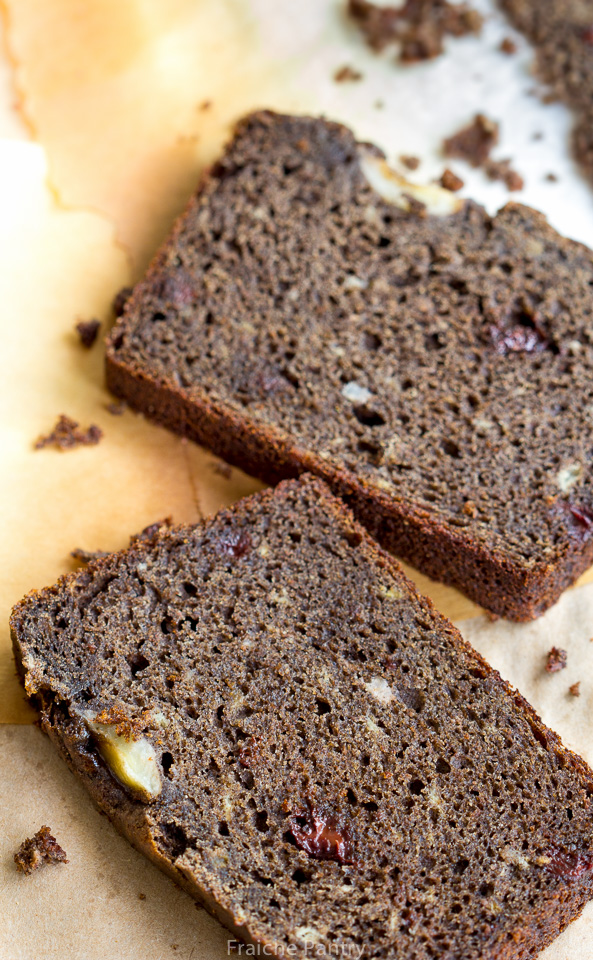
Buckwheat Chocolate Banana Bread with Tart Cherries

BuckwheatBananaBread-3

Always loved basic banana bread but this version quickly became my favorite. The first time I made it I used a 50/50 mix of plain flour and buckwheat flour – then I decided to experiment with a buckwheat only version – turning out a perfectly fluffy, moist and delicious loaf –  a healthy nutritious version of an American classic.

BuckwheatBananaBread-2

Why buckwheat? Though I’m not gluten free, I wanted to try my hand at a healthy version of banana bread. Buckwheat is high in protein, fiber and  loaded with nutrients. A great alternative to white flour baking, it has a delicious nutty flavor especially when paired with sweet ripe bananas and chocolate.

BuckwheatBananaBread-4

This recipe is simple and easy to make. Most of the ingredients you may already have in your pantry. All that is required is a bowl and a fork to mix the batter.

Buckwheat Chocolate Banana Bread
 
Ingredients
  • 1⅔ cups Bob's Red Mill buckwheat flour
  • 2 teaspoons baking powder
  • ½ teaspoon baking soda
  • 3 medium very ripe bananas, peeled + half a banana sliced lenghtwise
  • ¾ cup sugar
  • 2 large eggs
  • 1 ½ teaspoon vanilla extract
  • ¼ cup yogurt
  • 4 tablespoons buttermilk
  • ⅓ cup vegetable oil
  • ½ cup chocolate chips
  • ¼ cup dried tart cherries
Instructions
  1. Preheat an oven to 350°F. Generously grease a non-stick metal loaf pan (preferably 1½ lb. pan) with butter.
  2. In a bowl, combine the flour, baking powder, salt and baking soda.
  3. In a large bowl, smash the bananas with a fork. Add the sugar, yogurt, buttermilk, oil, eggs and vanilla and mix with a spoon/fork until well blended.
  4. Add the flour mixture to the banana mixture and stir just until blended. Gently mix in the chocolate chips and tart cherries.
  5. Scrape the batter into the prepared pan, spreading it evenly with the spoon.
  6. Gently lay the half banana on top of batter right in the center (optional).
  7. Bake in preheated oven until a toothpick inserted into the center of the bread comes out clean with just a few crumbs clinging to it, about 45 to 60 minutes.
  8. Remove the pan from the oven, set it on a wire cooling rack and let cool for 20 minutes.
  9. Gently run a table knife along the inside edge of the pan to loosen the bread from the sides.
  10. Using oven mitts, turn the pan on its side and slip the loaf out onto the wire rack. Let the loaf cool before serving. Makes 1 loaf.
Notes
If using 1 lb. loaf pan, batter may overflow a bit during baking


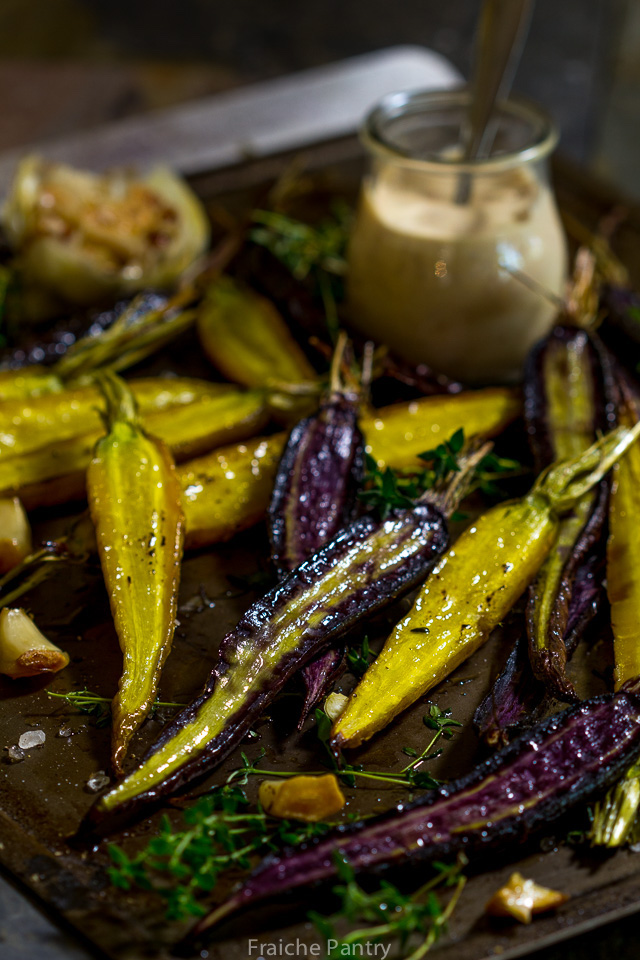
Roasted Heirloom Carrots with Harissa Aioli

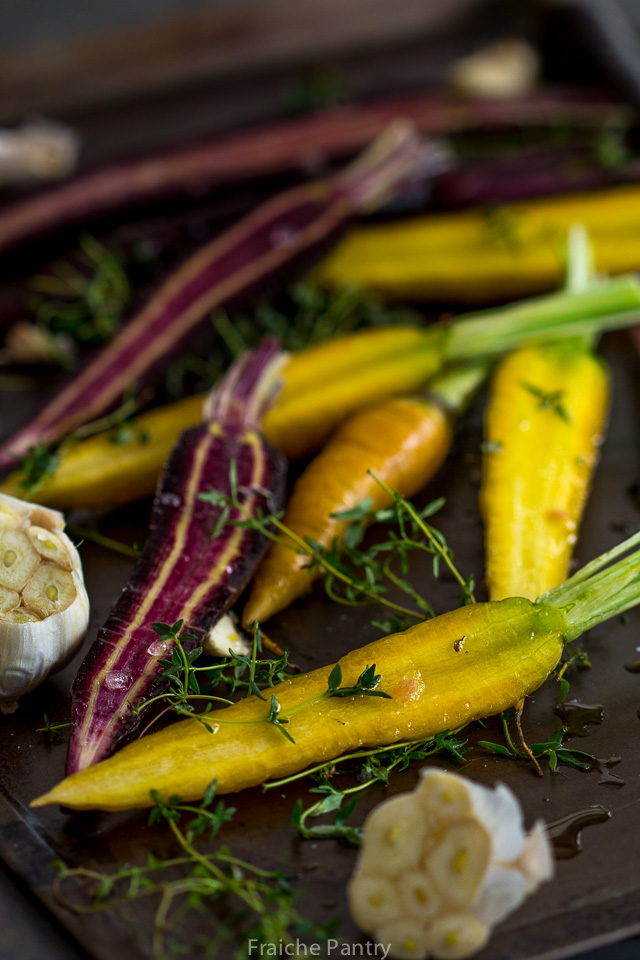
HeirloomCarrotsroasted

I’m a full-fledged member of carrot-oholics anonymous. I’ve learned to love these root vegetables.

But, in truth, for most of my life, I never liked carrots. Raw, they’re not so bad. Cooked, I really loathed them. The taste of steamed or boiled carrots was so revolting to me.

So, why did I detest cooked carrots? I guess I never got over the shockingly bad tasting carrots my mom fed me from a jar when I was a baby. Is it possible to remember what food tasted like when you were a baby? I don’t know, I guess part of my brain still remembers the awful taste.

To this day, I feel for babies. The taste of baby food in jars is pretty awful. Okay, so the fruit ones are not that bad, but the vegetable ones are nasty – enough to scar your taste buds for life.

If you don’t remember what they taste like, pick up one of those carrot baby food jars and you’ll know what I’m talking about.

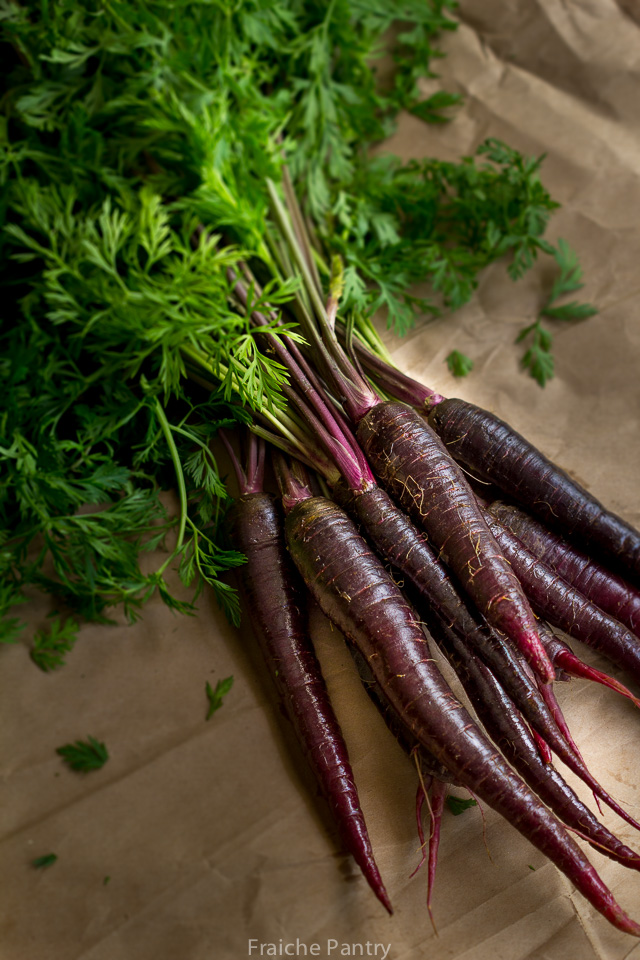
HeirloomCarrots-2

So, there was just no room for carrots in my repertoire. The one exception was when I was making a pureed veggie soup that included carrots. The pureeing process made the cooked carrot taste disappear into oblivion.

So why am I now into rabbit food?

It was when the heirloom variety caught my attention at a local farmers’ market.

Initially, it was their stunning rainbow colors that make them hard to ignore. Then, after bringing a bunch home and roasting them, I discovered that their delicious flavor is far superior to the modern carrots you find at grocery stores.

HeirloomCarrots

In recent years, carrots, especially heirloom, have enjoyed a huge spike in popularity. Chefs everywhere have been coming up with creative ways of cooking them. Finally no more boiled or steamed carrots. I was inspired to give the carrot a second chance. I now feel more at ease seeing it on my plate. I no longer associate the taste of carrots with my babyhood culinary trauma.

Roasting them became my favorite way to enjoy them. With its child-like simplicity, it is hardly a recipe. It is just a method of cooking them that brings out the sweeter more complex flavor. I don’t even peel them. I give them a good scrub, season them and then roast them. The beauty of it is you can use a simple seasoning such as salt, pepper and olive oil. Or, you can experiment with more exotic spices, such as Indian curry spices. The result is a great tasting veggie that will leave you licking your fingers…

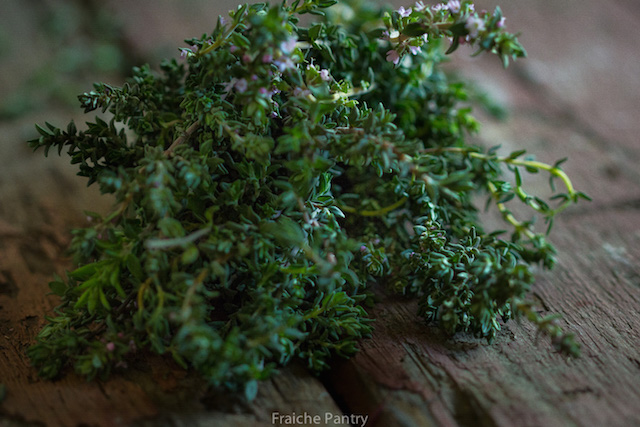
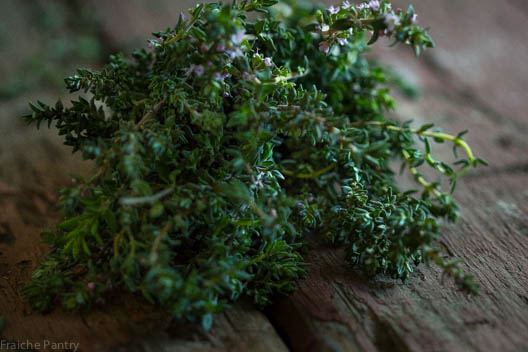
Thyme

Serve them as the perfect side dish for chicken, fish or steak. Or have them as an appetizer with a nice glass of Pinot Noir or Gamay Beaujolais.

***Note: Due to the risk of salmonella, I am not using a traditional aioli recipe that calls for raw egg yolks. For this post, I use store bought mayonnaise as a substitute.

***Harissa is an aromatic chili pepper paste that is widely used in middle eastern foods. It is readily available in specialty stores and most grocery stores.

Thyme Roasted Heirloom Carrots with Harissa Aioli
Prep time: 
Cook time: 
Total time: 
 
Ingredients
  • 1 bunch organic heirloom carrots tops removed
  • 1 head of garlic unpeeled and cut in half
  • 8 sprigs fresh thyme chopped plus more for garnish
  • 3 tbs olive oil
  • Kosher salt
  • Fresh ground black pepper
Instructions
  1. Preheat oven to 400 degrees
  2. Thoroughly wash and dry the carrots. Slice the thick carrots in half lengthwise. Leave the skinny ones whole. Spread the carrots and garlic halves on a large cookie sheet. Season with salt, pepper, thyme and olive oil. Make sure the garlic halves are fully coated in olive oil.
  3. Roast at 400 degrees until tender - about 30 to 45 minutes depending on the thickness of the carrots.
  4. Remove from oven, Transfer to a serving plate. Sprinkle with few sprigs of fresh thyme and serve immediately with harissa aioli.
Notes
Some people blanch or steam the carrots for few minutes before roasting them. I skip this step.

 
Harissa Aioli
 
Ingredients
  • ½ cup mayonnaise
  • 2 garlic cloves minced
  • 1 tbs lemon juice
  • 1 tbs harissa
Instructions
  1. Whisk all four ingredients together. Adjust seasoning to taste..

Fresh Fava Bean & Leek Soup

Fava Bean & Leek Soup

Worth the trouble?

Absolutely. Fresh young fava beans are springtime’s sweetest pleasure. They are a delectable seasonal treat. True, they take a little effort to prepare but they are definitely worth the trouble.

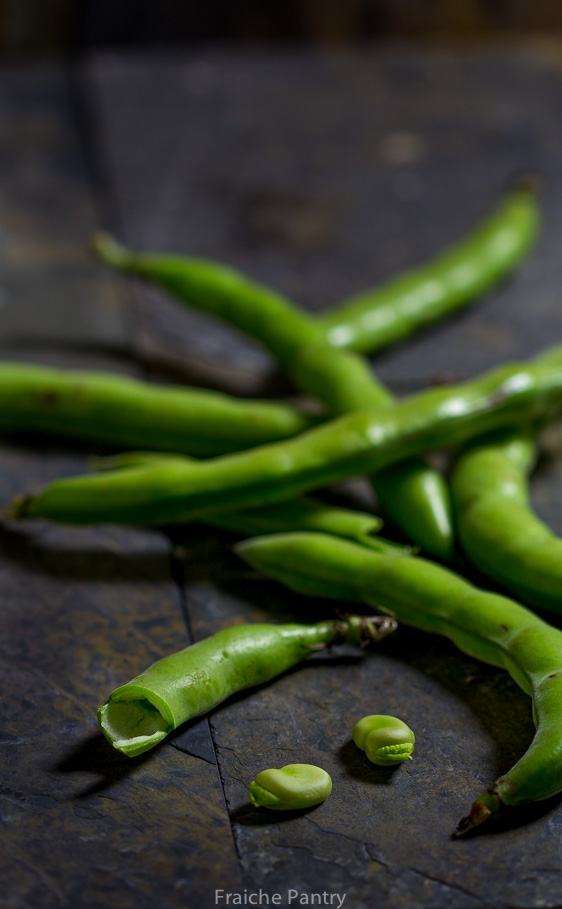
Fava Beans

Condemned by ancient Greek philosopher Pythagoras and forever associated with Hannibal Lechter in “Silence of the Lambs”, fava beans have a long history.

It is one of the oldest cultivated beans in Europe and a staple of the Mediterranean diet for over 5000 years. For some unknown reason, fava beans continue to be ignored in America. Some growers blame the lack of popularity on the laborious task of shelling the bean. And unless you grew up in an Italian, Spanish, French or Greek household, you are likely missing out on their wonderful sweet earthy flavor.

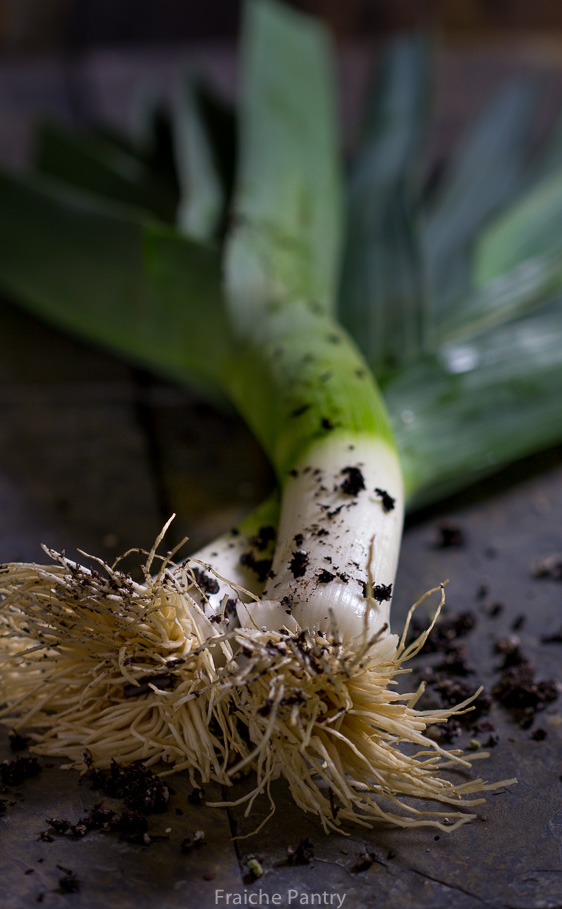
Leeks

A spring staple all around the Mediterranean, they can be extremely versatile. Try grilling them whole in their pods and serve them with a drizzle of olive oil. Mash or puree them and spread them on crostini. Make a bowl of soup out of them. Add them to risottos. Toss them in pasta, or salads. And if you are lucky enough to get your hands on fresh, young, tender fava beans, try them raw with some pecorino cheese and a glass of wine as they do in Tuscany.

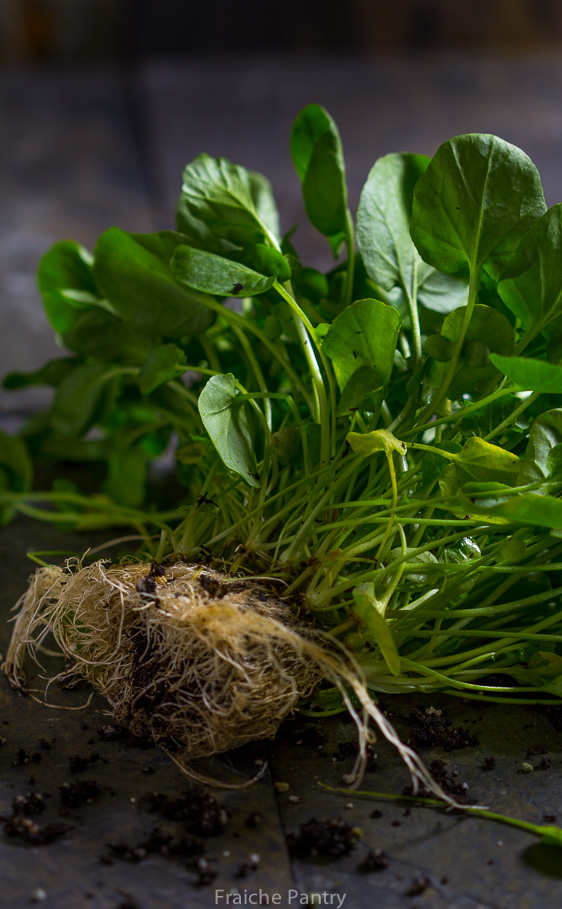
WatercressThere is no fast way to prepare fava beans. Once shucked from their pods, the debate is whether to remove their leathery skin or not. Some cultures do, and some don’t. Although I don’t have a specific preference – I have consumed the beans both ways, and I do tend to buy young beans. In my opinion, this eliminates the need for double shelling. So look for glossy, firm, bright green pods when choosing fava beans.

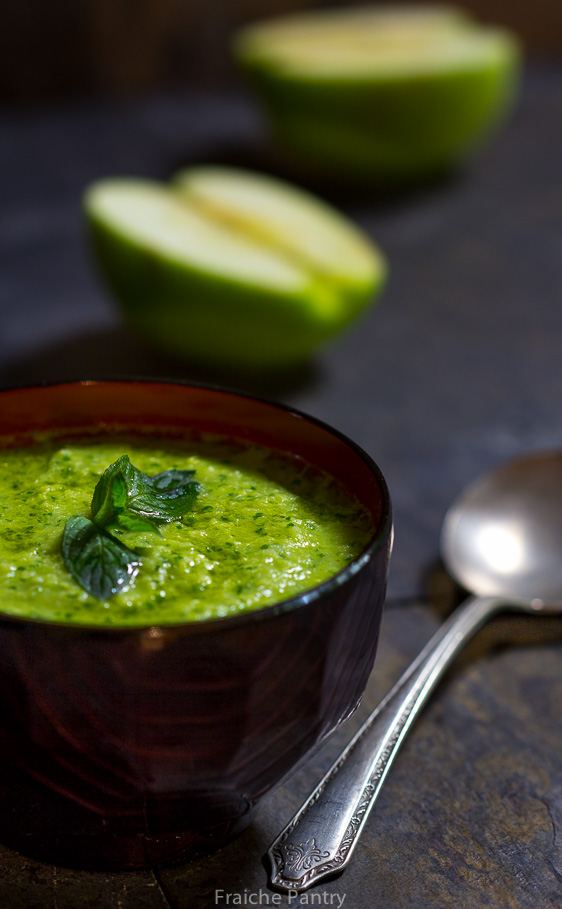
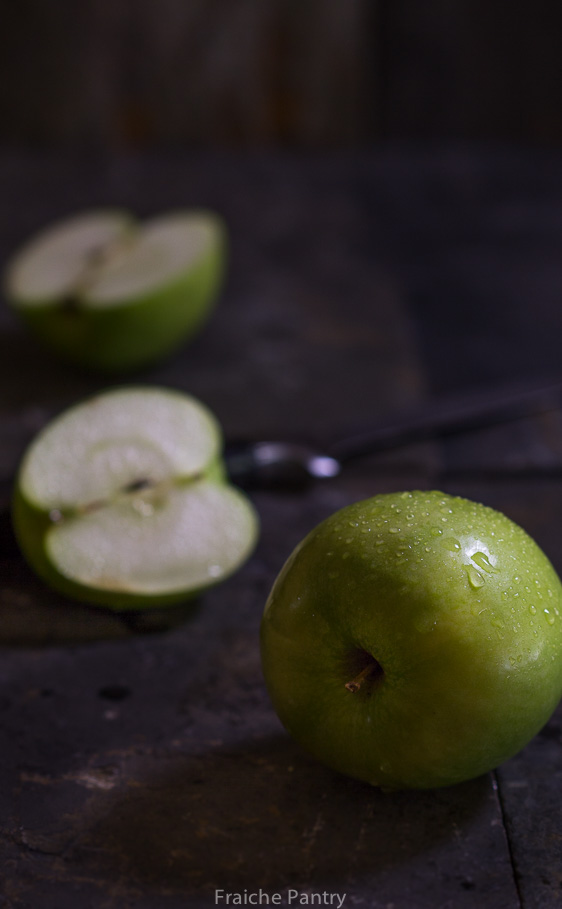
Granny Smith ApplesThe following recipe is a wonderful spring fava bean soup with leeks, watercress and granny smith apples.

How to double-shell the fava beans:

Remove the beans from their pods. Place them in a pot of boiling water and blanch them for about 2 minutes. Drain and then place them in cold water until thoroughly cooled. Do not let them sit too long in the water. To remove the milky white skin, peel away the top of the shell with you finger nail  and simply squeeze the other end of the shell to pop the bean out of their skin.

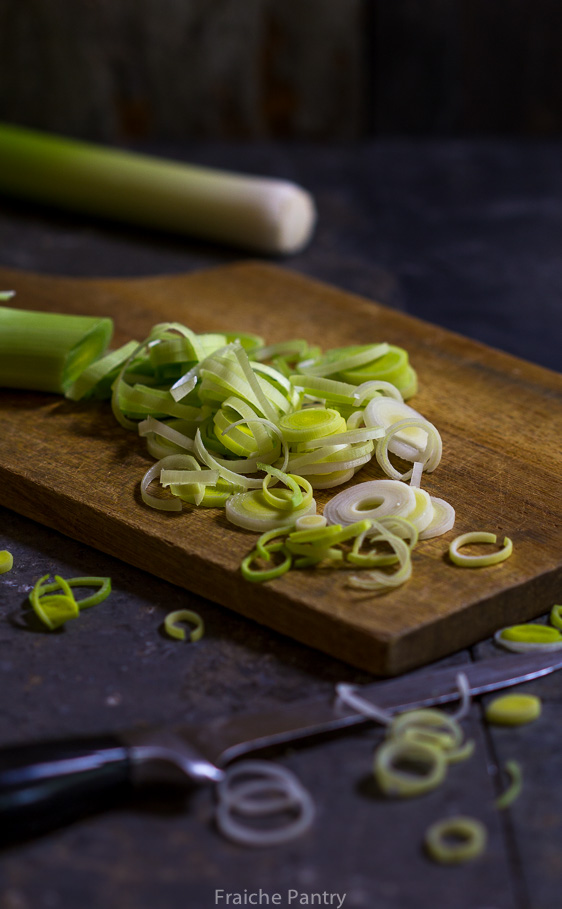
Chopped Leeks

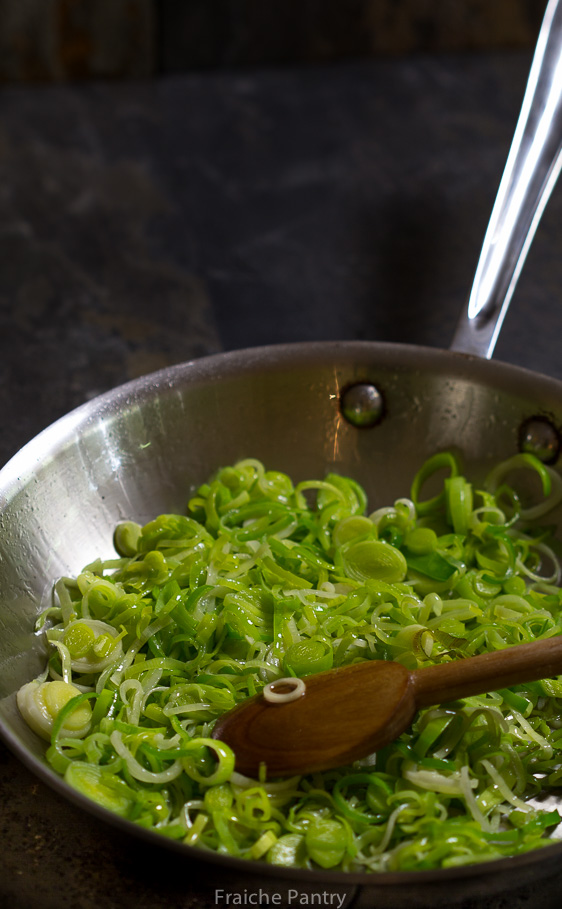
Sauteed Leeks


Fresh Fava Bean & Leek Soup
 
Ingredients
  • 2 cups fresh double-shelled fava beans
  • 1 bunch watercress
  • 3 large leeks sliced
  • 2 granny smith apples peeled and chopped
  • 4 cups chicken broth
  • 2 tbs butter
  • 2 tbs olive oil
  • Salt
  • Pepper
Instructions
  1. In a large pot, heat butter and olive oil. Add leeks, fava beans and granny smith apples. Sauté until tender but not brown, about ten minutes.
  2. Add chicken broth and bring to boil. Reduce heat and simmer for an additional 10 to 15 minutes.
  3. Meanwhile, wash and trim the watercress removing any tough stems
  4. Ladle the hot soup into a blender or food processor, add uncooked watercress and mix until very smooth.
  5. Return soup to pot and season with salt and pepper.
  6. Reheat if necessary. Serve with a drizzle of olive oil and some croutons...
Notes
You can sauté the watercress with the rest of the vegetables if you wish but this will change the color of the soup. To keep the soup bright green do not cook the watercress. The leaves will wilt as soon as you add them to the hot liquid.

Bell Pepper Tart Tatin

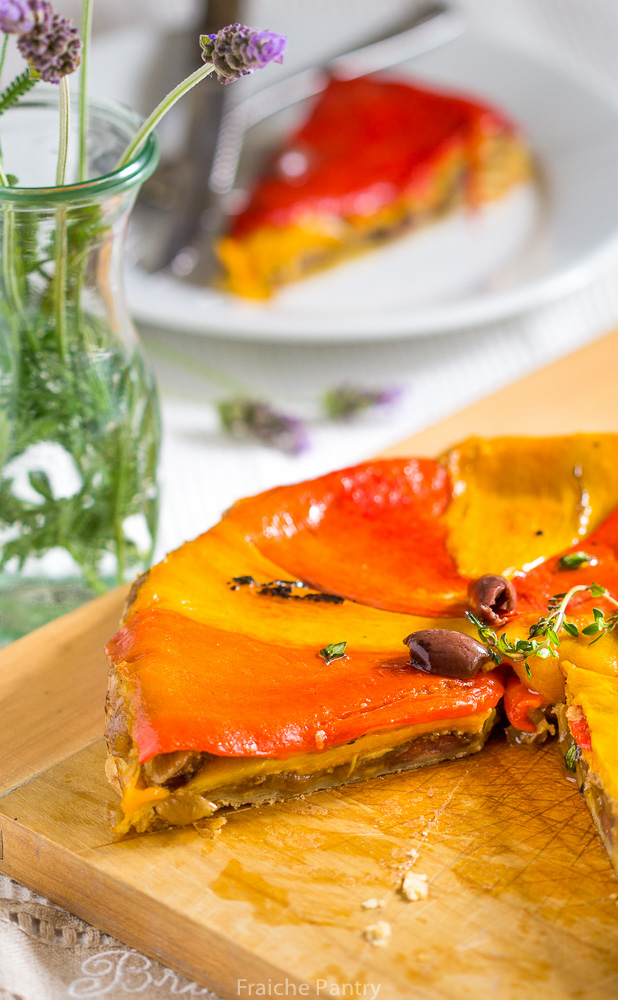
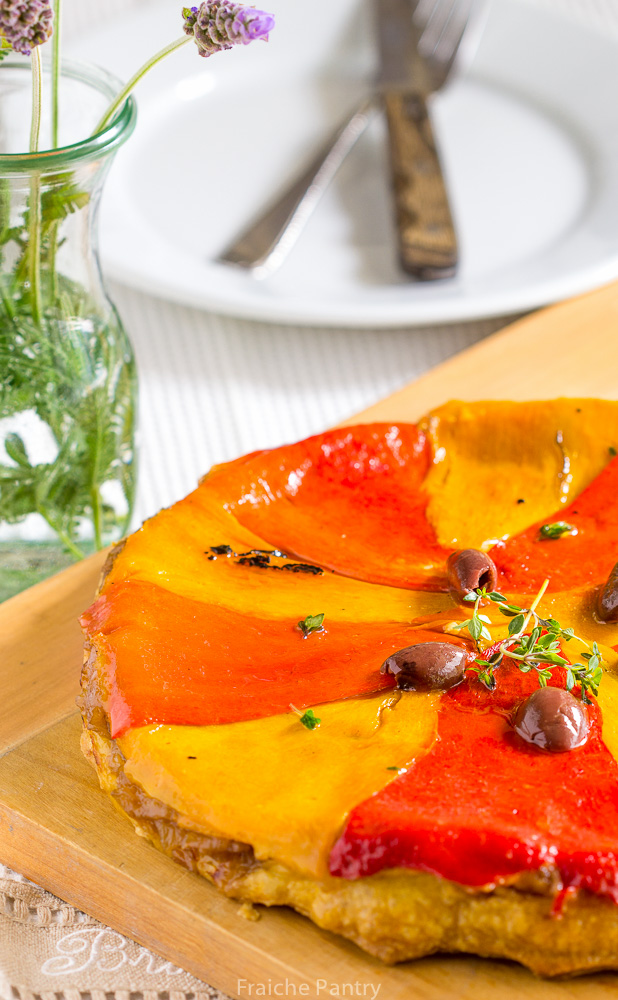
PepperTart-2

The bell pepper is no longer the sexiest veggie in town.

Most people would say they are bored with them. Some find them difficult to digest, and others are simply tired of eating them.

I too suffer from the same culinary boredom when it comes to bell peppers. I routinely toss them in my grocery basket with dreams of creating an exciting dish. But once I get home, I never quite know what to do with them.

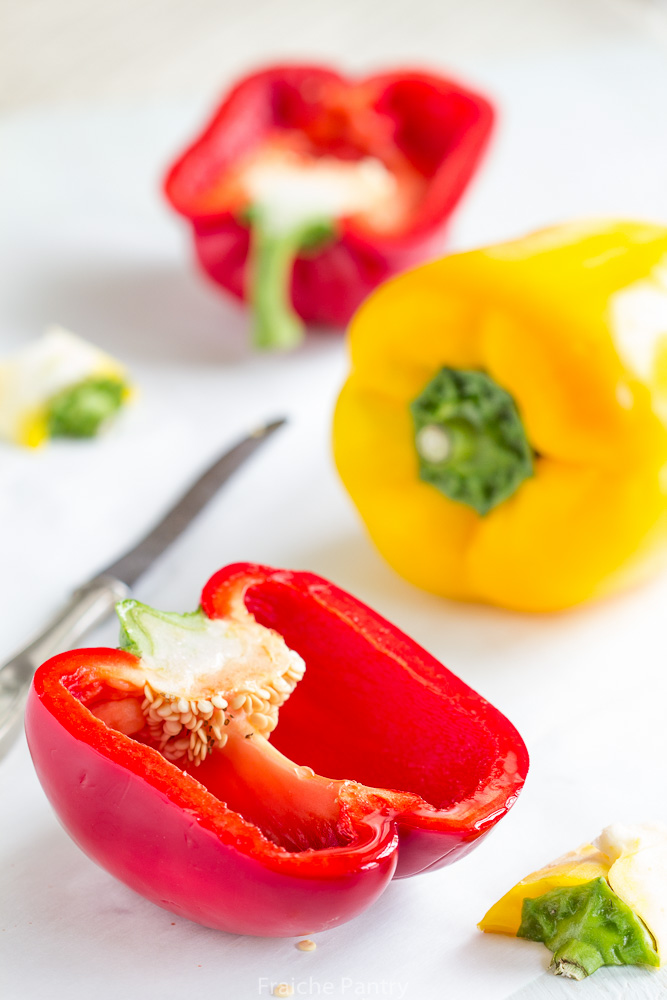
BellPeppers

Having said that – I still love bell peppers.

They remind me of my childhood summer Sundays when I helped my grandfather grill lamb brochettes. He grilled them on rosemary skewers with roasted bell peppers a la provencal. I was in charge of turning the skewers so they wouldn’t burn. My grandfather kept a close eye on me.

PepperTart

A symbol of summer holidays and BBQs, the bell pepper has more than one trick up its sleeve to tickle our taste buds.

Nutritionally speaking, it is still the “bell” of the ball. The bell pepper has a myriad of antioxidants from vitamin C, A to B6 and magnesium.

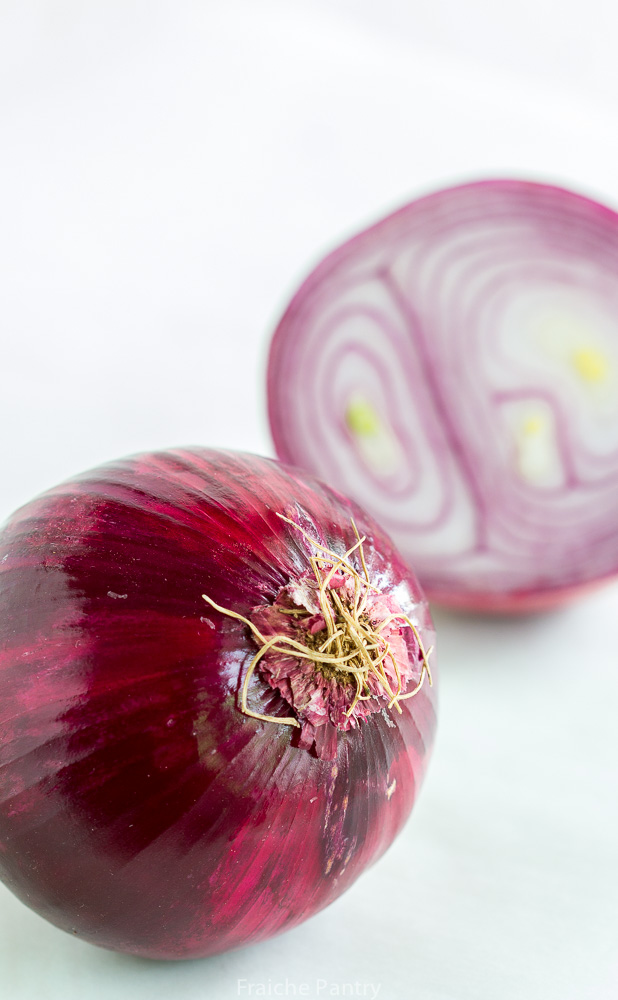
RedOnions

Still, the bell pepper is not always liked. For example, the green one, with its thick fleshy texture and bitter flavor, is often dismissed as unripe.

The poor bell pepper seems to be stuck in a rut. It has become the vegetable chefs and cooks love to hate.

So how do we make bell peppers less boring?

The following recipe is my effort to spice things up and make the bell pepper “sexy” again.

Bell Pepper Tart Tatin
Cook time: 
Total time: 
 
Ingredients
  • 2 yellow bell peppers
  • 2 red bell peppers
  • 2 tbs butter
  • 2 tbs olive oil
  • 2 red onions
  • ½ cup red wine
  • ¼ cup fig balsamic vinegar
  • 1 tbs herbs of provence
  • ½ cup chopped olive nicoise
  • Store bought frozen puff pastry
  • 2 cups grated gruyere cheese
Instructions
  1. Defrost puff pastry according to package instructions and keep in the refrigerator. Remove from the fridge 15 minutes before use.
  2. Peel and slice the onions into thin slices. In a pan, heat the herbs on low to release their fragrant oils. Take care not to burn them. Add butter and olive oil. Continuing on low heat, let butter and oil infuse with herbs - about one minute. Add onion, wine and vinegar. Cook over medium heat stirring occasionally until all liquid evaporates - about 30 minutes.
  3. Meanwhile wash and cut the peppers into quarters lengthwise. Place them skin side up on a cookie sheet lined with parchment paper and bake in a preheated oven at 350 for about 15 minutes. Wrap the cooked peppers in foil and let steam for twenty minutes. Once cooled, peel the peppers and set aside.
  4. Roll the puff pastry into a sheet large enough to cover a 9 inch non stick baking pan. Lightly oil the pan and arrange the pepper slices in a radial pattern. Sprinkle the peppers with a thin layer of grated gruyere cheese. Add the cooked onion and spread over the gruyere evenly. Sprinkle the chopped olives over the onion layer and top with another layer of gruyere taking care to cover the entire surface. Cover with puff pastry pressing the edges inside the pan. Bake in a preheated oven at 375 degrees until golden brown - about 35 minutes.
  5. Pull the tart from the oven and let rest for 15 minutes. Invert a plate over pan and using pot holders to hold the plate and baking pan together, invert the tart onto the platter. Garnish with halved olives and few sprigs of fresh thyme. Serve warm..
Notes
Tart can be prepared and assembled up to one day in advance.
Use any type of fruity balsamic vinegar you like. I used Sonoma Harvest fig balsamic vinegar.

Perfect for lunches and brunches, this tart can be served as a main course with a salad or as a side dish.

Brown Sugar Butter Cookies

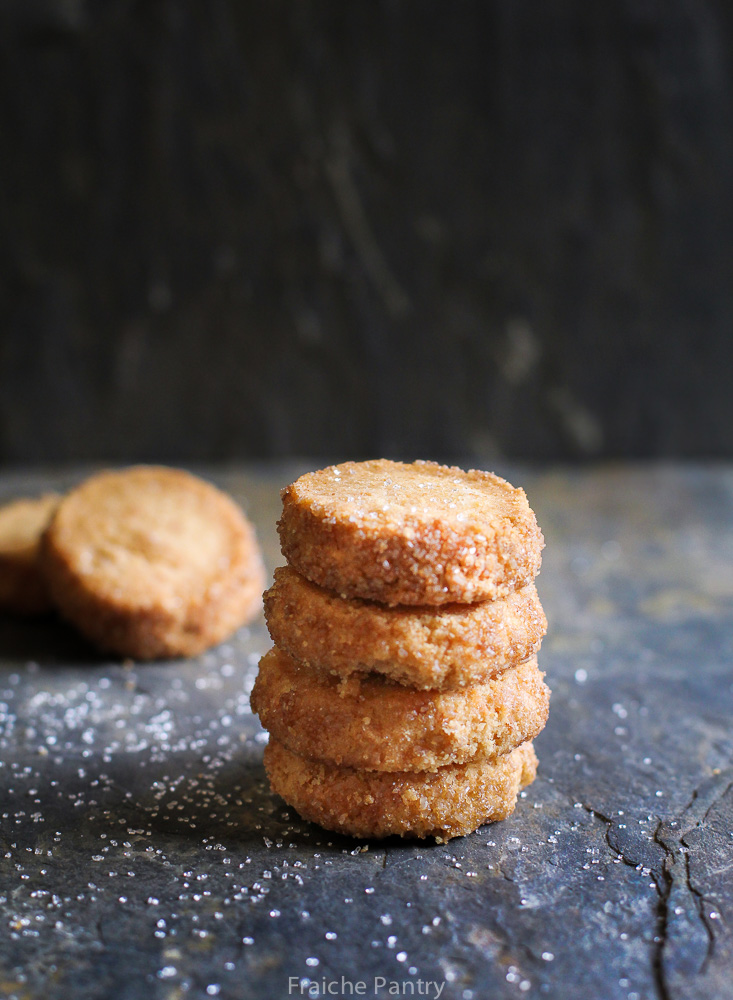
BrownSugarButterCookies-2Called “Sables” in french (meaning “sand” to describe their breadcrumb like texture), these melt on your tongue delicate butter cookies are perfect accompaniment to an afternoon tea or coffee.  It is said that the cookies were invented in 1670 in Sable-sur-Sarthe in Pays de la Loire region in France. The flavor of these cookies depend largely on the quality of butter used. So I recommend using a good quality european butter such as Kerrigold or Lurpak…

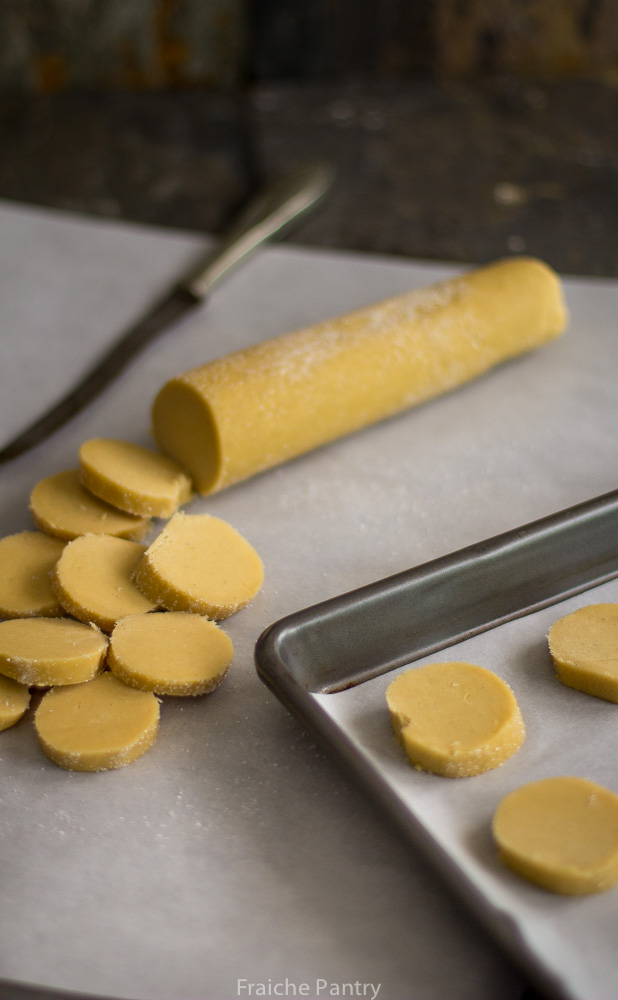
BrownSugarButterCookies

Brown Sugar Butter Cookies
 
Ingredients
  • 8 oz unsalted butter softened
  • 6 oz brown sugar
  • 2½ cups of all purpose flour
  • 1 large egg
  • 1 tsp vanilla extract
  • ¼ cup sanding sugar
  • ½ tsp fleur de sel
  • 1 egg white, beaten
Instructions
  1. Sift dry ingredients (flour and fleur de sel) and set aside. In an electric mixer fitted with the paddle attachment, mix butter and granulated sugar on medium speed until pale and fluffy, about 3 minutes. Reduce speed to low and add egg and vanilla. Mix until well combined. Mix in dry ingredients just enough to form a dough ball.
  2. Halve the dough and shape each half into a log. Roll each log in plastic wrap and refrigerate for at least an hour or overnight.
  3. When ready to bake, preheat oven to 350 degrees. Brush each log with egg white and roll in sanding sugar. Cut into ¼ inch thick rounds and place on baking sheets lined with parchment paper. Bake for 15 to 20 minutes until edges are golden. Let cool in wire racks before serving.
Notes
The dough can be made in advance and frozen for up to one month..


Cumin Cilantro Pork Chops

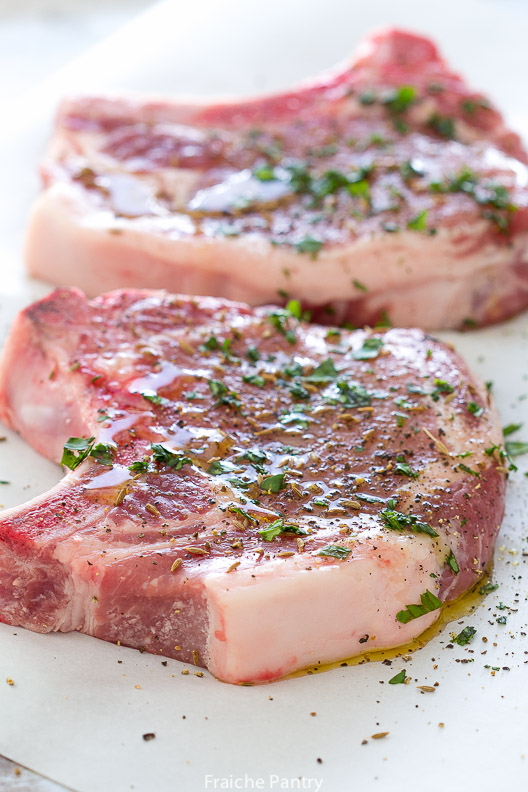
Pork Chops

I usually shy away from cooking pork at home. Truthfully, I can’t say I gave it a fair shot. I’m usually pretty fearless when it comes to tackling food challenges but after a couple of botched attempts at making tender juicy pork chops, I gave up. It was easier to order at a restaurant.

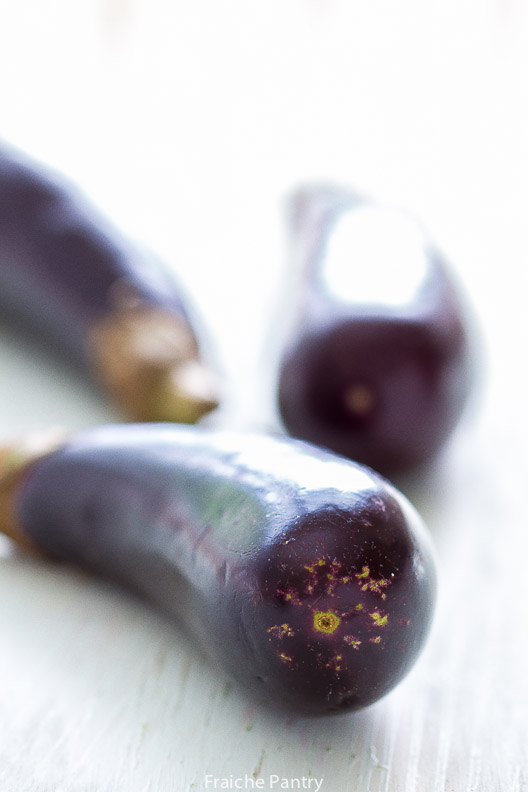
Italian Eggplant

But lately, thanks to my friend Marcie, I have been making some pretty awesome pork chops.

I credit my renewed interest to Marcie because a few months ago she made a mouthwatering pulled pork dish using heritage meat she had ordered from Rinconada Dairy Farm. It was absolutely delicious.

An informative conversation with her on how to cook pork prompted me to try it again.

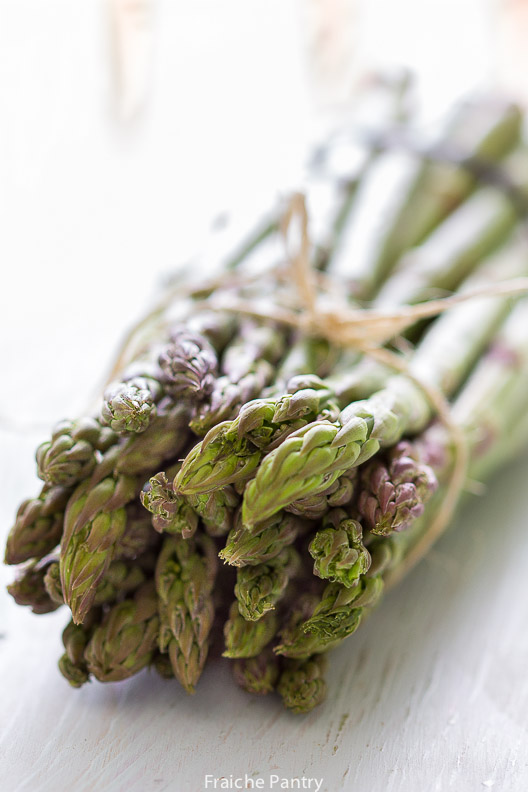
Asparagus

My mishaps were partly due to some misguided fears about illnesses associated with eating undercooked pork (pink doneness). I followed USDA guidelines for safe cooking which up until three years ago recommended that pork be cooked to 160 degrees, a temperature that greatly contributed to my failed experiments.

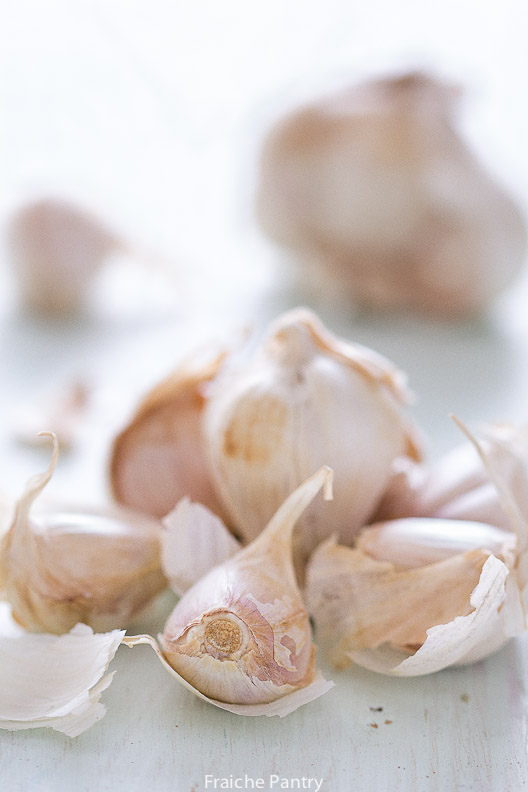
Garlic

Pork meat is as lean as skinless chicken breast, which makes it really easy to overcook.

My determination to get it right prompted some online research and I learned that in 2011, something exciting happened. As a result of new scientific studies, the Department of Agriculture decided to lower its safe cooking temperature for pork to 145 degrees.
Reducing the heat, buying the best, freshest cuts, and adding some of Marcie’s tricks yielded the juiciest and most tender pork meat.

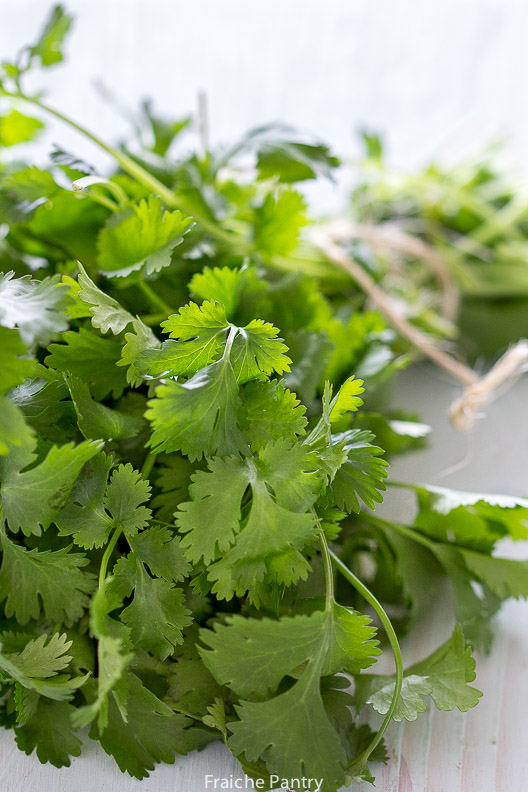
Cilantro

Things I’ve learned:

The quickest, easiest way to prepare pork chops is stove top. The following few basic rules will guarantee tender juicy meat.

  • Buy bone-in pork chops. They’ll take a few minutes longer to cook but will ensure a tender meat.
  • A thirty minute marinate will infuse the meat and enhance the flavor
  • Bringing chops to room temperature before cooking will ensure even temperature inside out .

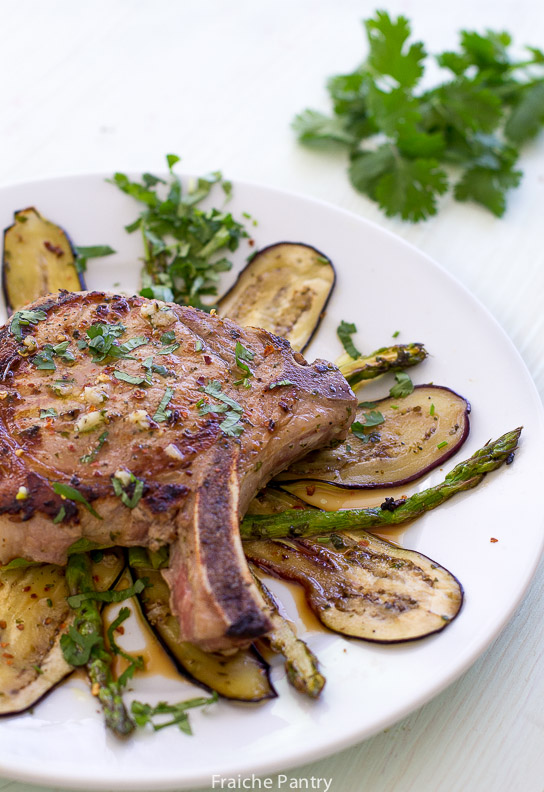
Cumin Cilantro Pork Chops


Cumin Cilantro Pork Chops
Serves: 2
 
Ingredients
  • 2 large bone-in pork chops
  • 2 tbs chopped fresh cilantro
  • 2 tbs coarsely ground toasted cumin seeds
  • 3 garlic cloves, crushed
  • ¼ cup white wine vinegar
  • ½ cup olive oil
  • 2 Italian eggplants sliced
  • 12 asparagus stalks blanched
  • Salt and pepper to taste
Instructions
  1. Prepare the marinade by combining cumin, cilantro, garlic, vinegar, olive oil, salt and pepper. Mix well. Place the pork chops in a bowl. Season with salt and pepper. Pour over half of the marinade and toss. In another bowl, place the eggplant slices and the blanched asparagus. Pour over the remaining marinade and toss. Marinate for 30 minutes.
  2. Heat a large non-stick frying pan over high heat. Cook eggplant and asparagus in batches until desired doneness. Transfer to a bow and keep warm.
  3. Using the same pan, brown the chops on high heat. Reduce heat to medium and cook chops 3 minutes on each side. Serve immediately..


French Onion Soup

What do the Winter Olympic Games have to do with French Onion Soup?

Absolutely nothing!

Except the thought of France being so far behind Canada, made me crave this French comfort soup.

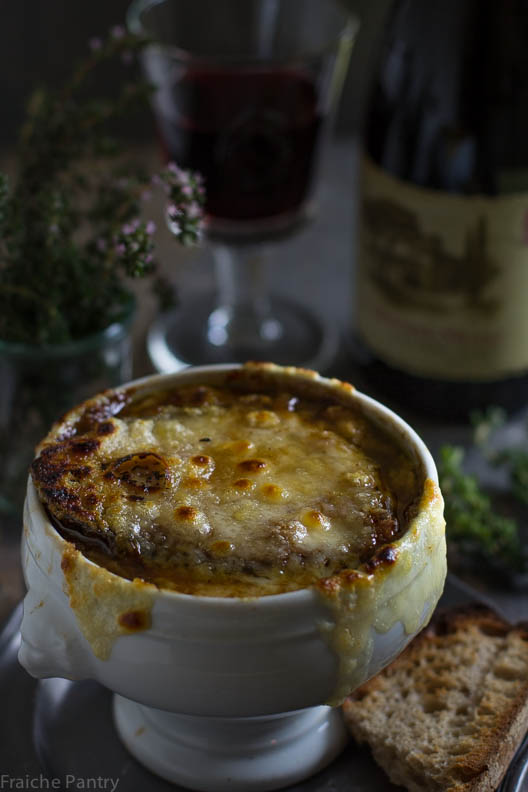
French Onion Soup

We’ve been watching the Winter Olympic Games for the past few days. So far Canada is way ahead of France in medal counts.

I am not happy about that. Dan is Canadian (also, we are both US citizens) so you can only imagine what it is like in our household supporting different teams.

Dan & I see eye-to-eye on a lot of things but when it comes to supporting our home teams we are rivals.

Don’t get me wrong, marriage is still more important than sports, or so they say,  but it’s fun to get into the spirit of a friendly rivalry once in a while. It keeps things interesting if you know what I mean…

I must say, this soup never fails to satisfy me. We had it as our main course and it paired beautifully with a glass of Cotes du Rhone..

There have been a lot of debates about traditional French onion soup. Some of them about the provenance, some of them about key ingredients. Some people are convinced you should only use water.  To me, It matters little whether you use stock or water. The result is the same, a very tasty onion soup –  as long as you don’t decide to use fish stock. That would make it fish soup…

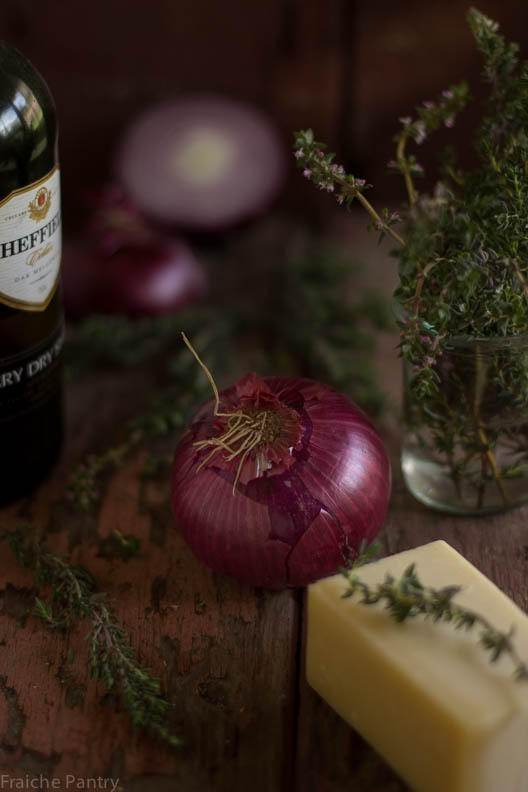
Onions & Fresh Thyme

Regardless of what you use to make this soup, there is only one thing you need to worry about: caramelization. Without proper caramelization, you will not be able to achieve that fantastic deep flavor and beautiful color.

Onion caramelization takes time. You can’t rush this process. You just have to give it the time it needs and deserves.

FreshThyme

I hope you enjoy this terrific soup..

French Onion Soup
Serves: 4
 
Ingredients
  • Ingredients:
  • 5 medium brown onions thinly sliced
  • 2 red onions thinly sliced
  • 4 tbs unsalted butter
  • 2 tbs all purpose flour
  • ½ cup dry sherry or cognac
  • 1 small bunch fresh thyme tied into a bouquet
  • 4 cups chicken, beef or veal stock (homemade if possible)
  • 3 cups grated Emmental or Gruyere cheese
  • 4 slices of country style bread
Instructions
  1. Melt butter in a large dutch oven. Add onions, salt and pepper and cook on medium to low heat for about an hour, steering occasionally until the onions are soft and caramelized.
  2. Lower the heat and stir in the flour to coat the onions. Cook for 3 to 5 minutes steering constantly to loosen any dried bits. Do not burn onions.
  3. Add fresh thyme, dry sherry and beef stock. Bring the soup to simmer and cook for 15 minutes. Taste the soup and adjust seasoning accordingly. Can be made ahead.
  4. Lightly toast bread slices – just enough to dry them. Do not brown.
  5. Remove the Thyme. Ladle the soup in oven safe bowls. Top with a slice of toasted bread and some cheese. Using a baking sheet, transfer bowls to oven and Broil on high until cheese melts and top is slightly brown and crisp.

Avocado with Shallot Vinaigrette

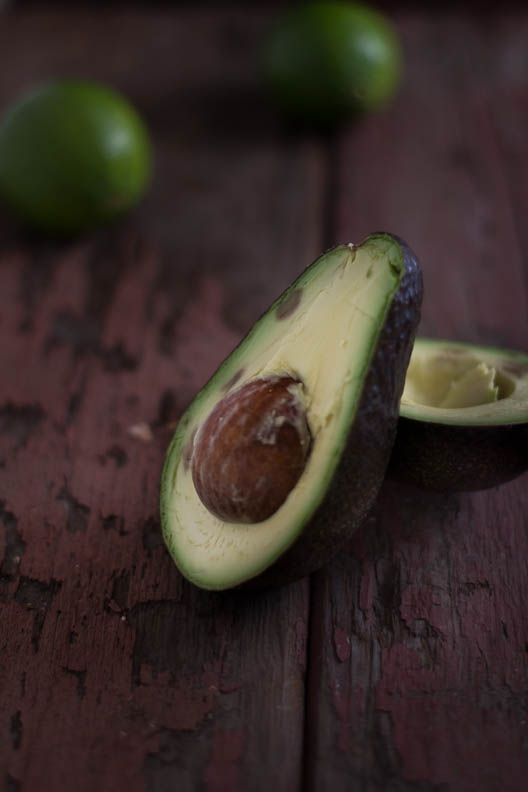
I simply can’t have enough of this buttery fruit (yes, it is actually a fruit). Avocados are my go to comfort food. Something about them that just puts me in a good mood.

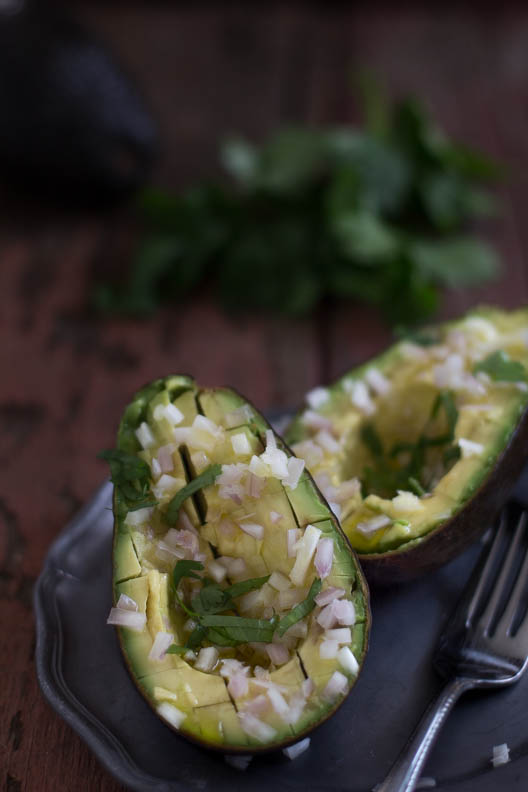
Avocados with Shallots

I usually make my favorite guacamole recipe but today I didn’t feel like doing a lot of chopping. So I opted for an avocado salad with shallot vinaigrette. Quick and delicious. I hope you enjoy this heart-healthy and hunger-eradicating dish..

Avocados

Avocado with Shallot Vinaigrette
Serves: 4
 
Ingredients
  • 2 avocados
  • 1 tbs minced shallot
  • 1 tsp chopped cilantro
  • the juice of one lime
  • Shallot vinaigrette
Vinaigrette:
  • 1 tbs minced shallot
  • 1½ tbs red wine vinegar
  • ½ tsp Dijon mustard
  • ¼ cup olive oil
  • salt & pepper
Instructions
Vinaigrette:
  1. To prepare the vinaigrette: soak shallots in vinegar for 15 minutes. Whisk in mustard. Add olive oil, salt and fresh ground pepper. Mix well then taste. Adjust seasoning to your taste.
Avocados:
  1. Cut the avocados in half. Remove the pits. Cube them but keep them in their skin. Rub the top with some lime juice to prevent browning. Sprinkle halves with minced shallots and chopped cilantro before dousing them with vinaigrette.


French Rustic Berry Tart

Nothing would be more tiresome than eating and drinking if god had not made them a pleasure as well as a necessity.”  –  Voltaire

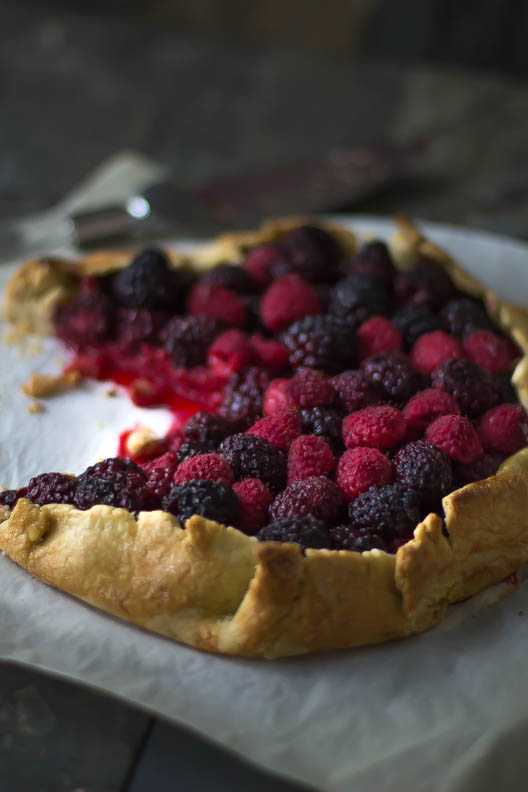
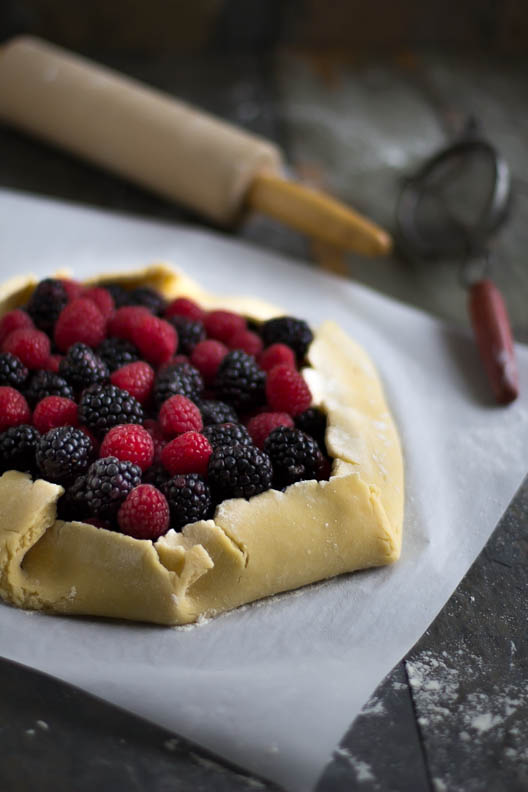
BerryTart

Today, with the rain dampening my spirit, I find myself in a mood for a pleasurable eating experience.  What could be more satisfying than a piece of berry tart and a cup of earl grey tea to brighten my day ?

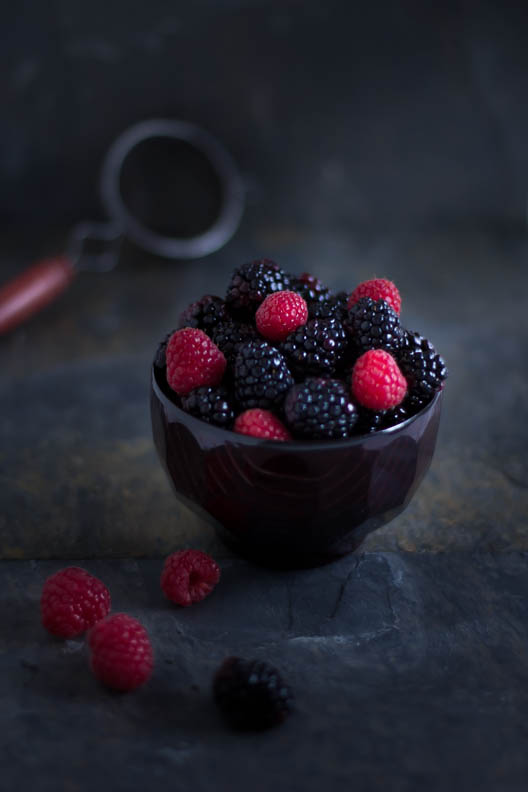
Berries

This is a wonderful delicate tart that begs to be served with a scoop of vanilla ice cream. Make it your meal or your snack. Whatever you decide, you are in for a treat.


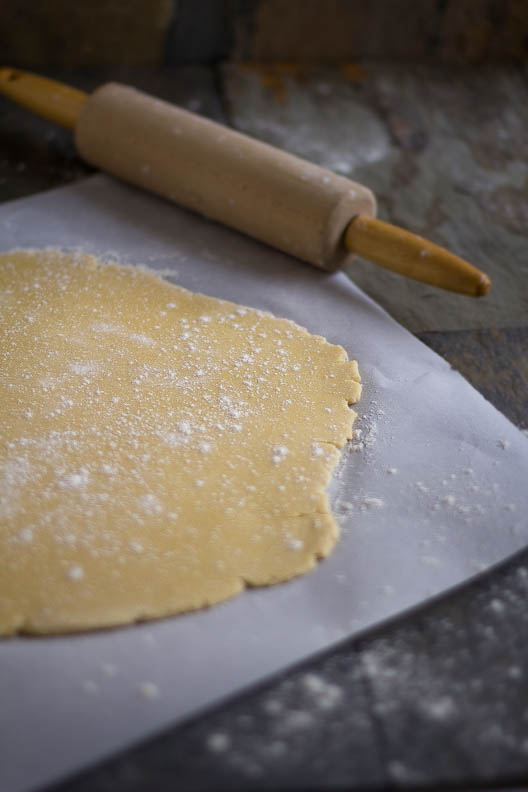
BerryTart Crust

You can make this pastry dough in a snap using a food processor.

BerryTart


**Note: For the filling, Splenda can be substituted for sugar. Be sure to mix it with the cornstarch.

French Rustic Berry Tart
 
Ingredients
  • 2 cups all-purpose flour
  • ½ teaspoon salt
  • 12 tablespoons cold Unsalted butter cut into chunks
  • 2 large egg yolk (reserve the whites)
  • 5 to 6 teaspoons ice water
  • 2 cups raspberries
  • 2 cups blackberries
  • 4 tbs sugar
  • 3 tsp cornstarch or flour
Instructions
  1. In a food processor, mix flour and salt. Add butter and pulse until mixture resembles a coarse meal. Add egg yolks and water one spoon at a time; processing just until dough begins to form a ball. Form dough into a disk and wrap in plastic wrap. Let dough rest in refrigerator for 15 to 20 minutes.
  2. While the dough is resting, turn the oven on and preheat to 375 degrees (350 if your oven tend to be too hot).
  3. Line a baking sheet with parchment paper. Set one piece of plastic wrap on a work surface. Lightly dust it with flour. Set dough in center of plastic wrap sheet. Lightly dust dough surface with flour and cover with another piece of plastic wrap. With a rolling pin, roll dough evenly into a 14 inch disk.
  4. Peel off top sheet of wrap and invert dough into lined baking sheet. Remove remaining plastic wrap. In a small bowl, Mix sugar and cornstarch. Sprinkle center of dough with two tablespoons of cornstarch mixture – this will form a seal and prevent crust from getting soggy during baking. Distribute berries in center of pastry. In a bowl, Sprinkle remaining cornstarch mixture over berries. Gently fold edges over berries pleating to fit. Leave an opening of about six inches wide in center. Brush pastry with reserved egg whites and sprinkle with sugar.
  5. Bake tart at 375 until crust is golden and juices in center bubble. Cool in pan for 20 minutes before serving.
Notes
**Note: Do not use frozen berries. They will release too much liquid which will result in a very soggy crust.